Install the Software Stack
This guide will walk you through setting up the CAN-to-MQTT bridge, importing the Node-RED project, and verifying that Home Assistant discovers your RV’s devices.
Prerequisites
Before you begin, please ensure you have the following up and running:
- A complete Home Assistant OS installation (with Supervisor).
- The official Node-RED add-on, installed from the Home Assistant add-on store.
- The official Mosquitto MQTT Broker add-on, installed and running.
- The RV Link hardware assembled and physically connected to the RV-C CAN bus, as described in the Hardware Guide.
If you use an external MQTT broker, make sure you have the hostname, port, and credentials available. You will need to update the MQTT configuration nodes in Node-RED accordingly.
1. Install the CAN to MQTT Bridge Add-on
This add-on is the critical link between your hardware and the software. It listens for raw RV-C frames on the CAN bus and publishes them to MQTT, and vice-versa.
Add the Custom Repository
- Navigate to Settings → Add-ons → Add-on Store in Home Assistant.
- Click the three-dots menu (⋮) in the top right and select Repositories.
- Enter the following URL and click Add:
https://github.com/Backroads4Me/ha-addons - Close the repository manager. The "Backroads4Me Home Assistant Add-ons" repository will now be at the bottom of the store page.
Install and Configure the Add-on
- Find the CAN to MQTT Bridge add-on in the new repository section and click to install it.
- Go to the Configuration tab. Set your CAN interface (e.g.,
can0) and bitrate (250000for standard RV-C). - Verify the MQTT connection details. If using the Mosquitto add-on, the defaults are usually correct.
- Go to the Info tab, enable Start on boot, and start the add-on.
2. Import the Node-RED Project
The Node-RED flows contain all the logic for decoding RV-C data, creating Home Assistant entities, and encoding commands.
Import the Flows
- Download the main flows file from the RV Link repository: flows.json.
- Open the Node-RED interface in Home Assistant.
- Click the hamburger menu (≡) in the top right and select Import.
- Select the `flows.json` file you downloaded and import it. Choose to import into a "new flow" to keep it organized.
- Important: You will also need the DGN (Data Group Number) lookup table. Download dgn-summary-table.json.
- Place this file in a location accessible to Node-RED, such as `/share/node-red/`, and update the "Read DGN table" file-in node in the "Config" flow to point to the correct path (e.g., `/share/node-red/dgn-summary-table.json`).
- Click the Deploy button in Node-RED to save and activate the flows.
3. Verify the Integration
Once the add-on is running and the flows are deployed, devices should start appearing in Home Assistant automatically.
Check for Incoming Data
- Use an MQTT client (like MQTT Explorer) to connect to your broker and subscribe to the
can/rawtopic. You should see a steady stream of messages. - In Node-RED, enable the "Decoded" debug node in the "CAN message routing" group to see the parsed RV-C data.
- In Home Assistant, navigate to Settings → Devices & Services → Entities and search for newly created entities (e.g., `light.switch_`, `sensor.tank_`).
Test Outgoing Commands
- Add a discovered light or shade to your Home Assistant dashboard.
- Toggle the device. You should see the physical device in your RV respond.
- In your MQTT client, watch for a message to appear on the
can/sendtopic when you issue a command. - The device's state in Home Assistant should update to reflect the command.
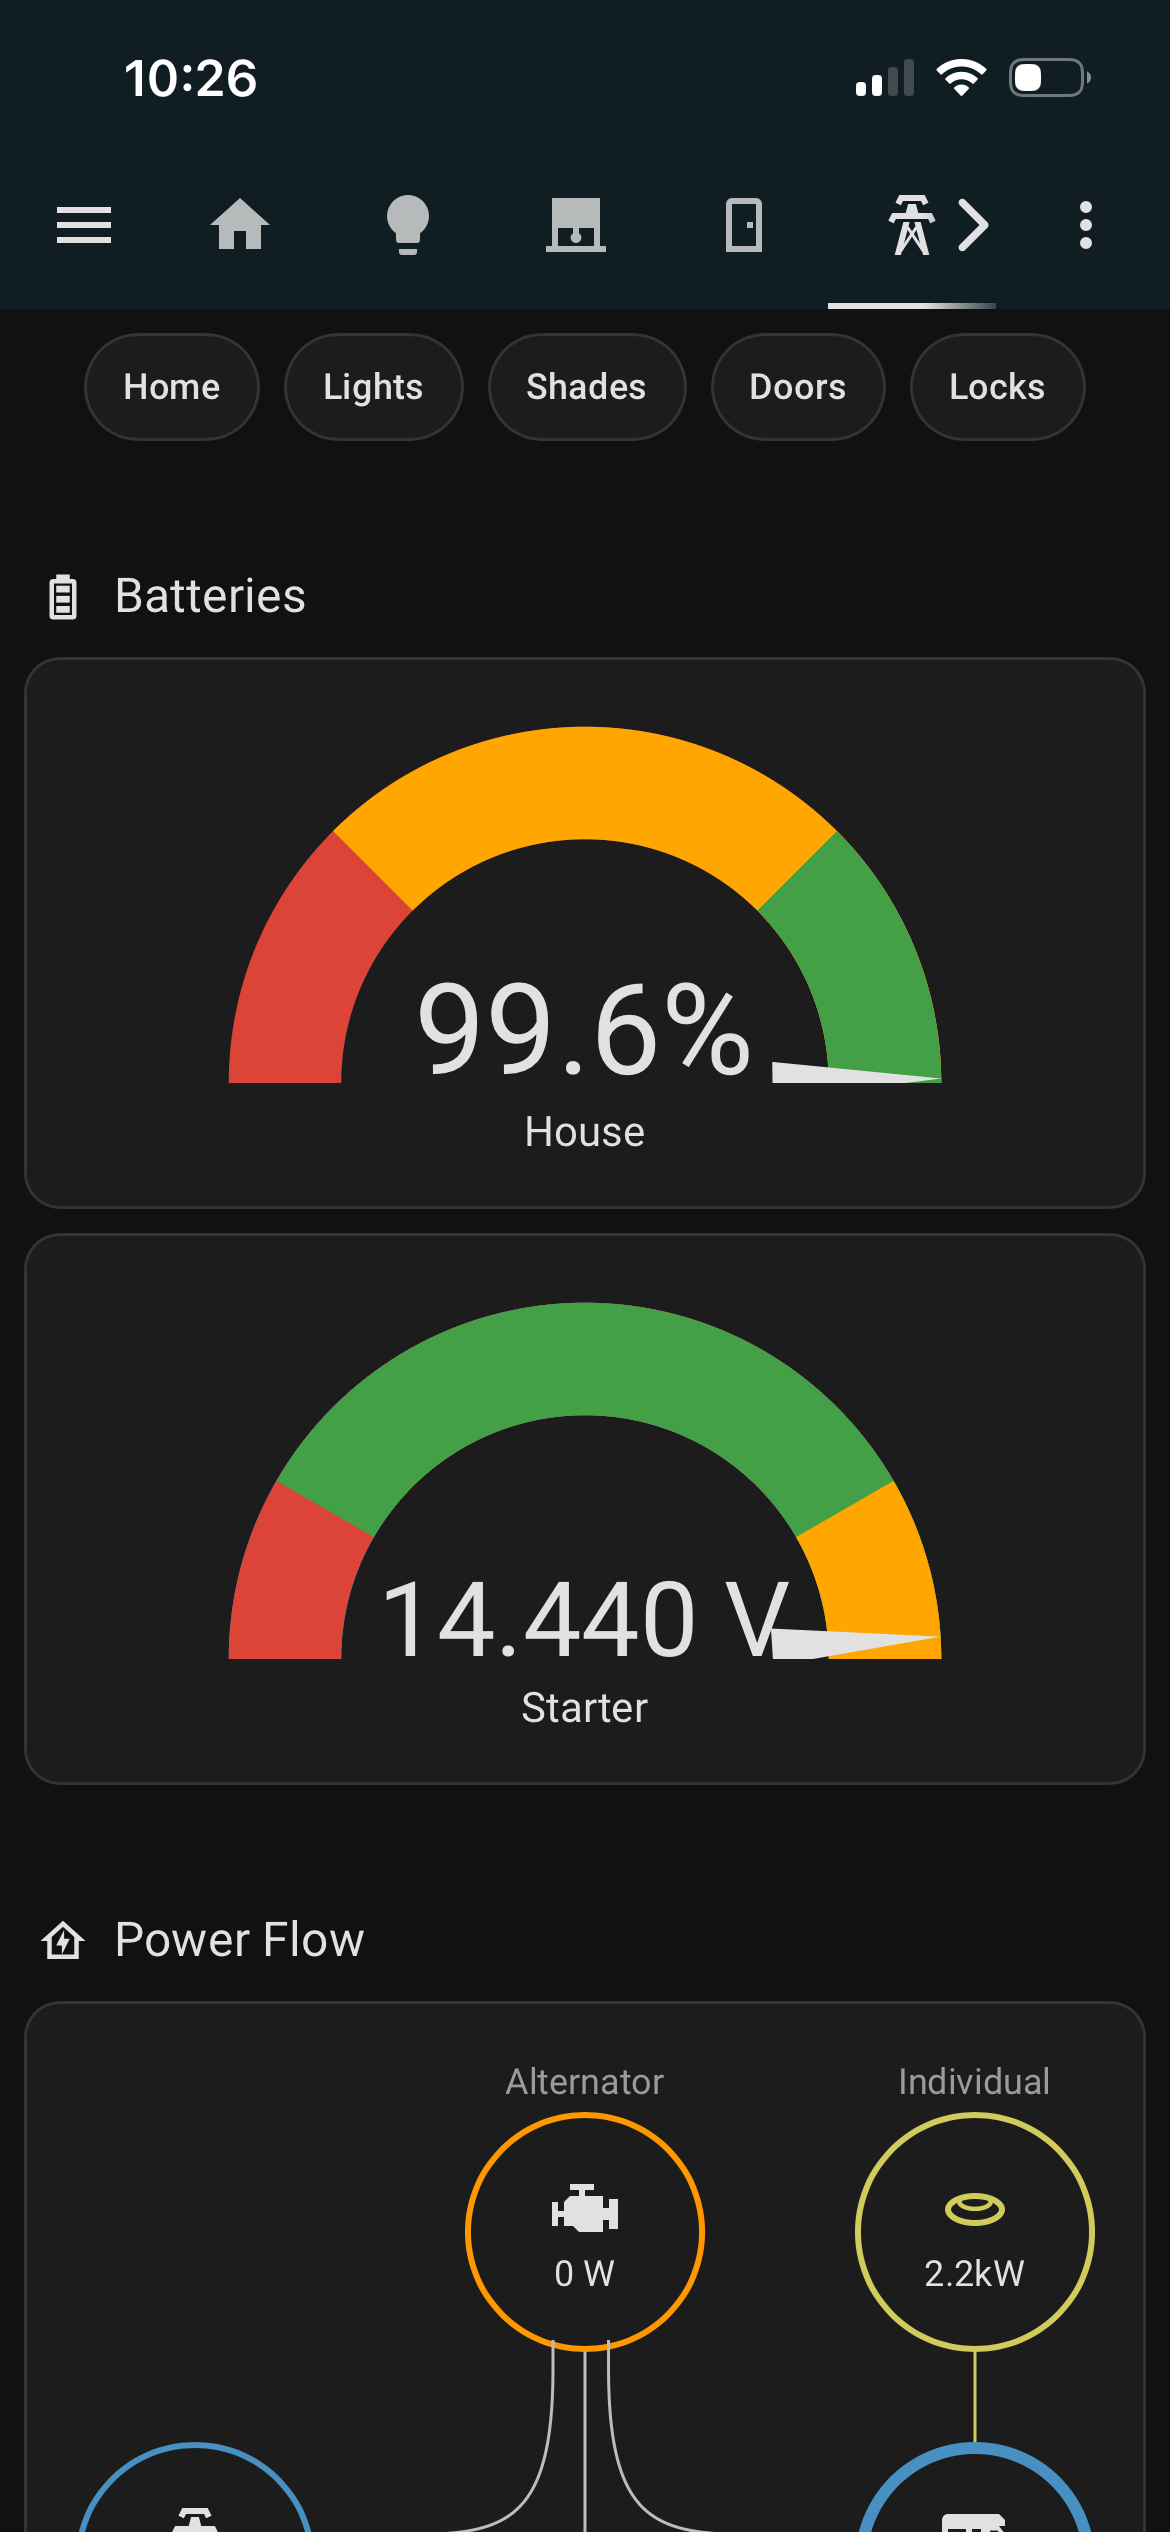
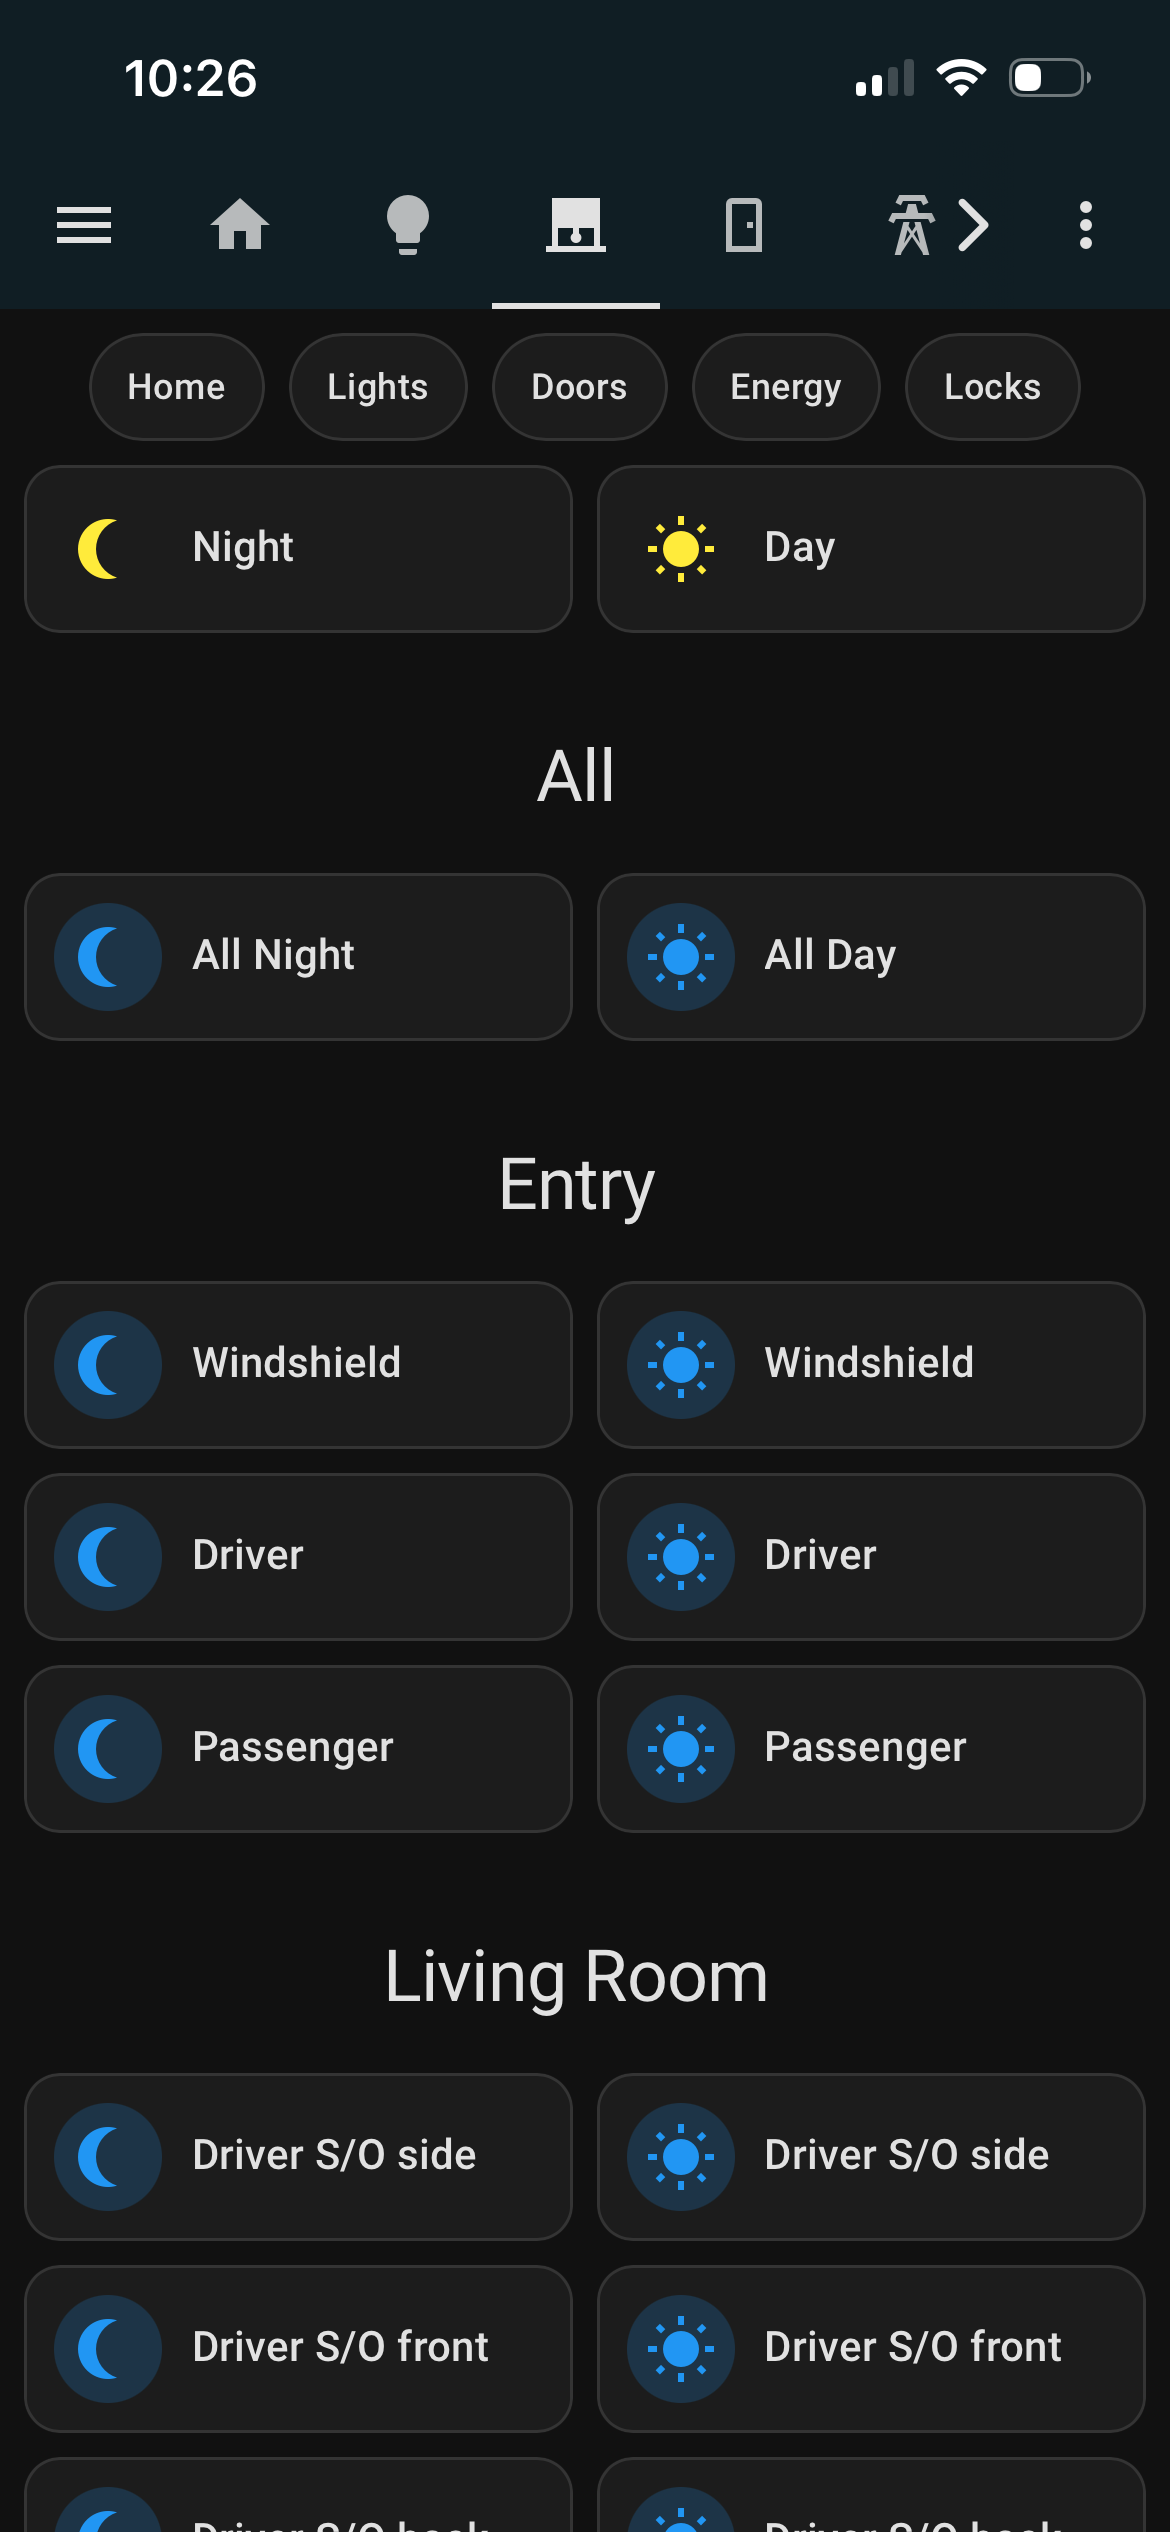
4. (Optional) Use the Example Dashboard
To help you get started faster, an example Home Assistant dashboard configuration is available. It provides a clean and functional layout for most of the entities that RV Link creates.
Dashboard Repository
You can find the YAML configuration for the dashboard in this repository:
https://github.com/Backroads4Me/rv-link-dashboard
Follow the instructions in the repository's `README.md` to add the dashboard to your Home Assistant instance.
Dashboard Dependencies
This dashboard relies on a few other community add-ons and integrations for its appearance and functionality. You will need to install them for the dashboard to work correctly.
Frontend (HACS)
- Mushroom Cards: For the main UI components.
- Power Flow Card Plus: For visualizing energy data.
Backend (Add-ons)
- Mosquitto: Required for all MQTT communication.
- HA Victron MQTT: (Optional) If you have Victron energy components you wish to integrate.
Troubleshooting
No Data on can/raw
- Check the logs for the CAN to MQTT Bridge add-on for any errors.
- Verify your CAN wiring, including CAN_H/CAN_L polarity.
- Ensure the CAN interface name (e.g., `can0`) is correct in the add-on configuration.
- Confirm the bus has exactly two 120Ω terminators.
No Entities in Home Assistant
- Verify that the Node-RED flows are deployed and running without errors.
- Check that the MQTT configuration nodes in Node-RED are correctly pointing to your broker.
- Ensure that MQTT Discovery is enabled in your Home Assistant configuration.
- Use an MQTT client to check that discovery messages are being published to topics like
homeassistant/light/.../config.